You know what “Dynamic Range” is, right? It’s the difference
in light intensity between the brightest whites in your image and the deepest shadows. Often it’s more than your camera, your monitor or your printer can handle. One possible way to bring it within the gamut of those devices is to fill in some of those shadows by throwing a little extra light in there. We’re going to talk about using your flash to do just that.
It has been written that the human eye can discern 7 octaves of light. Your eye is amazing. Look outside on a bright day and let your peripheral vision take in some dark objects around you. You can see detail in the brightest areas
and in the darkest ones (sometimes you can’t: like looking at your dashboard in the car on a sunny day. That’s when there are more than 7 octaves of light intensity). Film, or a digital sensor, can only handle 4 octaves. You need to set your exposure so that the brightest areas are not blown out, but then the shadows will all be filled in! So throw some extra light on the subject!
That’s an extreme example. More likely, you’ll deal with those situations a different way. “High Dynamic Range” or HDR processing is another way of handling it – you shoot more than one image of the same scene with different exposures and merge them together. If you’re shooting in RAW, by the way, you might be able to use a single exposure, make a copy or two, and adjust the exposures so that you’re covering all the light levels. HDR is a topic for another day.
Maybe you’re doing a portrait using that beautiful available light from a North-facing window. Or you’re shooting a picture into back lighting or with a bright snowy background and there are deep shadows on the faces, or they’re just underexposed. This is a job for fill-flash.
The little pop-up flash on your camera (unless you’re lucky enough to be shooting with a pro body like a D3x, which doesn’t have one) is next to useless for lighting an image with flash, but it might just do the trick for filling in some shadows. It will still suffer from red-eye problems because of where it is in relation to the lens, and it’s not very powerful so it won’t reach out very far (I get a real kick out of watching a stadium event, like a football or a basketball game, and seeing the flashes going off all around the stadium, even in the nosebleed seats. Don’t people realize that they’re not going to light up that Dwight Howard dunk from the 700-level with the little flash in their point-and-shoot?).
Back on topic: there’s a difference between lighting a scene with flash and just using it for fill. Find the adjustment on your camera to control the amount of flash. Set it to –1 EV or thereabouts: that’s one stop less than the ambient light, and give it a try. It might be too much or too little, but it’s a good starting point. That’s “minus one”, in case you missed that. Here’s an image I did at –1-1/3 stop, for example.
Eyes. Shot with flash fill. The flash output was 1-1/3 stops under the ambient light.
If you have an external flash, so much the better. Especially if you can control it remotely, so it’s not mounted on the camera. Light coming from an angle is much more interesting than light from directly above the lens.
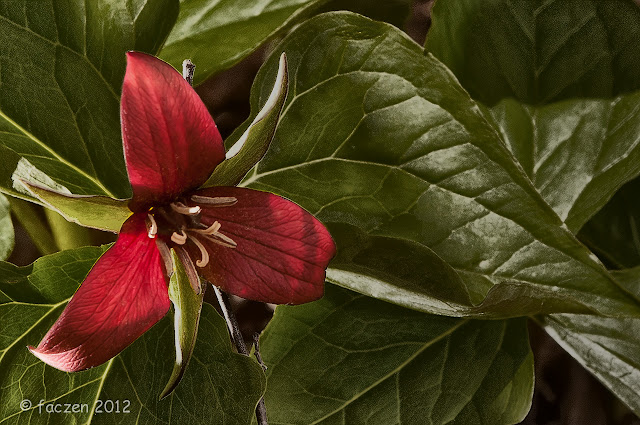
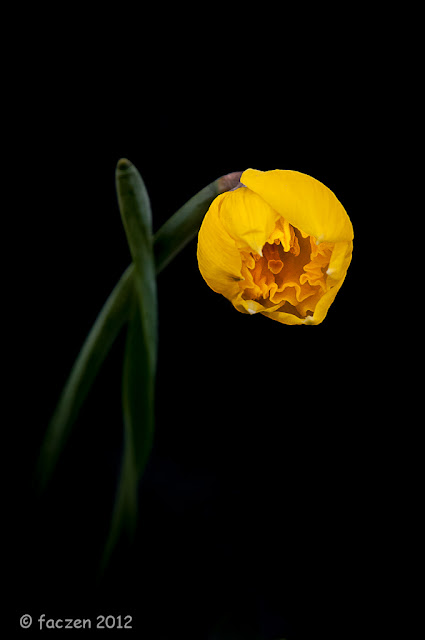
Here the flash (Nikon SB-600) was held above and to the right of the flowers. Much better lighting than if it had been on the camera.
Now everyone knows that the duration of the burst of light out of a flash is short. When you reduce the amount of light coming out of the flash, you’re generally reducing the duration of the flash, not its power! So if you want
to freeze that hummingbird in flight, get the flash close and you might be able to achieve that 1/50,000 second burst of light. But that’s NOT what this article is about. In fact, I’m going to show you what can go wrong.
Everything comes with a penalty: your shutter speed has to be slow enough to sync with the flash (in most cameras, that means a shutter speed of 1/125 or 1/60th. The D300 goes to 1/320 sec). So forget that shallow depth of field shot,
you’ll be shooting at f/11 or f/16 on a bright day.
Here’s where I made my mistake at the Muskoka Wildlife Centre. I had the camera at the default 1/60 sec flash sync speed, so I got camera movement and even subject movement in many of my images. You know the rule: trying to hand-hold a 200mm lens at 1/60, even with VR, is iffy at best.
This exposure used ambient light with exposure compensation set at +1 to brighten the snow and the flash fill at –1 to fill in the shadows. I naively thought I could also freeze the motion. No such luck. In fact, I was shooting with a
200mm lens handheld, and the shutter speed reverted to 1/60 second. Not a chance. I was lucky ANYTHING was in focus (look at the green pine branch on the ground), thanks to VR. Just giving you something to think about and a reason to go RTFM (Google it) for your camera and flash.
The white light is from the flash bouncing off the ceiling. The green is from those horrible plasma lights.
Here’s another issue. Colour temperature. Now this shot is illuminated by flash, not just filled, but look at the differences in colour between the flash (daylight) and the ambient light (fluorescent plasma lighting). Can you say “ugly”? Here’s another example that makes it really clear.
The curling team was lit by my SB-600 flash with Gary Fong Diffuser. But LOOK at the colour of the light in the rink in the background! This points out the real difference in Colour Temperature that you will have to deal with somehow. This is NOT Flash Fill, by the way. It's Flash Illumination.
And another one. Remember that closeup of the eyes above?
The ambient light was daylight, all right, but it was filtered through some green trees. Look at the awful colour before I adjusted it in Photoshop! So if you’re going to mix ambient light with flash, be aware of colour temperatures.
Generally speaking, the unmodified flash runs around 5500°K which is the colour of a sunny day.
So here’s a summary:
- Use fill flash to open up dark or shadowed areas in an otherwise bright scene
- Expose for the normal ambient light and set your flash to put out at least one stop less light
- If you’re trying to freeze action, light the scene with the flash, don’t just fill it.
- Check how to set the shutter speed on your camera when you’re using the flash.
- Think about colour balance with the other lights in the scene, and
- Practice, practice, practice until it becomes second nature.
Here’s one more image where I used flash fill.
Surprised? I wanted a soft, long exposure for the mist and the background, but I wanted some detail and sharpness in the dock itself. So I gave it a little shot of flash at –1eV and exposed the rest of the scene for 1/3 second at f/22, ISO=100.
